
I have an original Tech2 scanner already and when I saw another forum member talking about getting a GM Tech2 and I was pretty skeptical, but after he posted that it was working fine, I had to try one. Flowing is the way to disable DRLs with GM Tech2 scanner
Tool needed: GM Tech2 GM Scanner
Vehicle model example: 2003 Chevrolet Cavalier
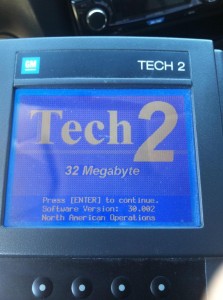
1. Turn the vehicle ignition to ON position with engine off. Plug the Tech2 scan tool into the vehicle OBD diagnostic port. Power on the GM tech2 scan tool. Press “Enter” to continue.
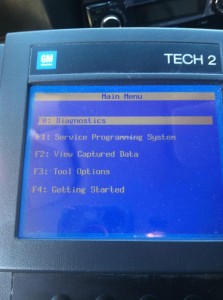
2. Select “F0: Diagnostic” function in the main function menu.
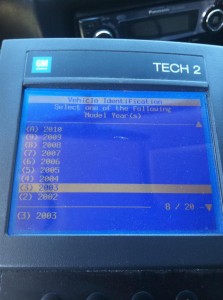
3. Select vehicle model, here take “2003″ as an example
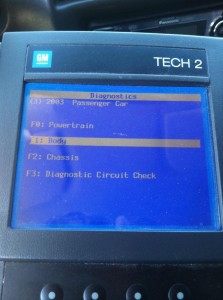
4. Select your vehicle type, like “Passenger car”

5. Select “F1: Body” under Diagnostic function list
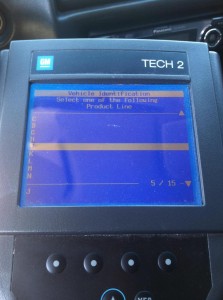
6. Select your vehicle body Product Line, here “J”
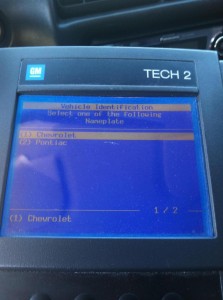
7. Select your vehicle manufacture, here “Chevrolet”
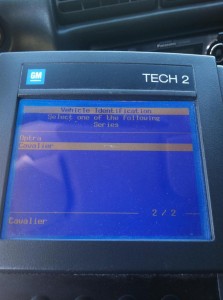
8. Select specific vehicle model, “Cavalier”
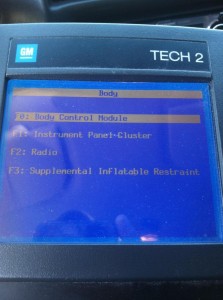
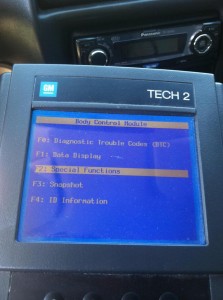
9. Select “F1: Body Control Module” under Body function list
10. Then go to select “Specific functions”
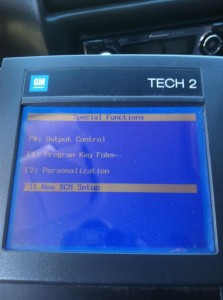
11. Select “New BCM setup” under special function list
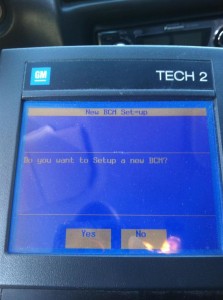
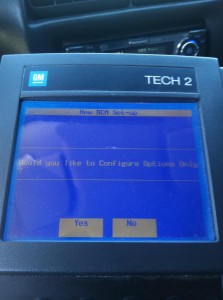
12. Click “Yes” when the device screen pops out “Do you want to setup a new BCM?” notice.
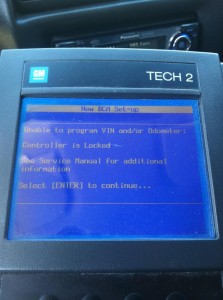
13. If the screen prompts fails to program VIN message, click “Enter” to proceed operation.
14. Click “Yes” to accept the requirement.
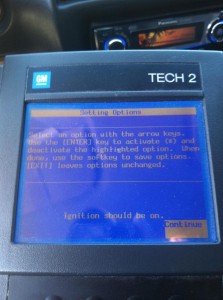
15. Select an option with the arrows keys by follow the screen instructions. Click “Continue” to move on the next step. (Ignition switch should be ON)

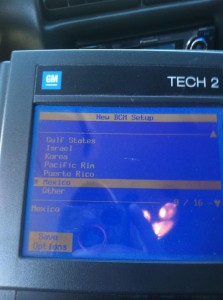
16. Select your vehicle model region and saving option setting.
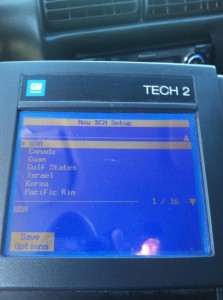
If you wan to change the vehicle region, go back to previous setting. Select the region you want, like “Mecixo”
Again accept the screen notice by click “Continue”
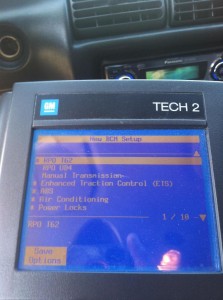
17. Select BCM module you need to program, here choose “PRO T62″
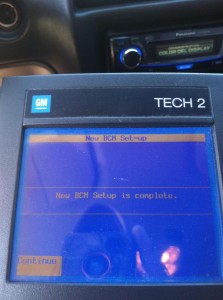
18. The new BCM setup procedure is complete and the daytime running lights turn off.
Leave a Reply